Testing the Summer Vacation Project
We’re living in an amazing time when it comes to access to technology. In 1992, I began studying engineering, and once I got through the heavy engineering math, I discovered a love for integrating software and hardware—or at least experimenting with it. Back then, though, things weren’t as easy or affordable. I still remember embedding Assembler into my Delphi code just to access the parallel port and turn on some LEDs.
Fast forward a few years (just a few!), and this summer I used part of my four-week Swedish vacation to build a Meshtastic beacon. Yes, I know it’s still technically called a “repeater”, but that might change in the future. The idea was to create a node or station that could operate off-grid, respond to messages from other users on the mesh, and periodically broadcast information. Ideally, this node could be set up on a fixed antenna at a high location—but the concept should also be mobile for use at events like field days, scout outings, picnics, or sports events. The possibilities are endless.
Hardware Setup
I started with a Heltec V3 Meshtastic node, which I configured to CLIENT MUTE to reduce unnecessary transmissions and stay within the 10% duty cycle limits. I also replaced the included antenna with a self-made ¼-wave ground plane antenna. The idea was to focus the signal more in specific directions—toward areas where I expected other nodes to be—rather than wasting energy broadcasting in all directions, especially downward.
To make the node smarter and more flexible, I connected it to a Raspberry Pi 5. Yes, the Pi 5 is probably overkill for this use case, but it was what I had on hand. The Pi runs Python code using the Meshtastic Python module. I gave the Pi a fixed IP and connected it to my laptop via Ethernet so I could easily update settings or software.
Software Features
The software (published at https://github.com/jkpg-mesh/mesh-repeater) consists of three main parts:
- Meshtastic interface – Handles communication with the node using the Python module.
- Web UI – A lightweight web interface to show mesh status, active nodes, and update configuration.
- Modular extensions – Additional functionality can be added easily by including new Python modules.
Core Features:
- Periodic Broadcasts – Sends customizable messages to the mesh at defined intervals.
- Node Database – Stores extended info and recent activity beyond the device’s built-in memory.
- Web Dashboard – Optional web interface to view mesh activity and configuration.
- Command Handling – Responds to basic user commands like
/info,/users,/signal, and/distance. - Extensibility – Designed to support additional modules and custom services.
Powering the Beacon
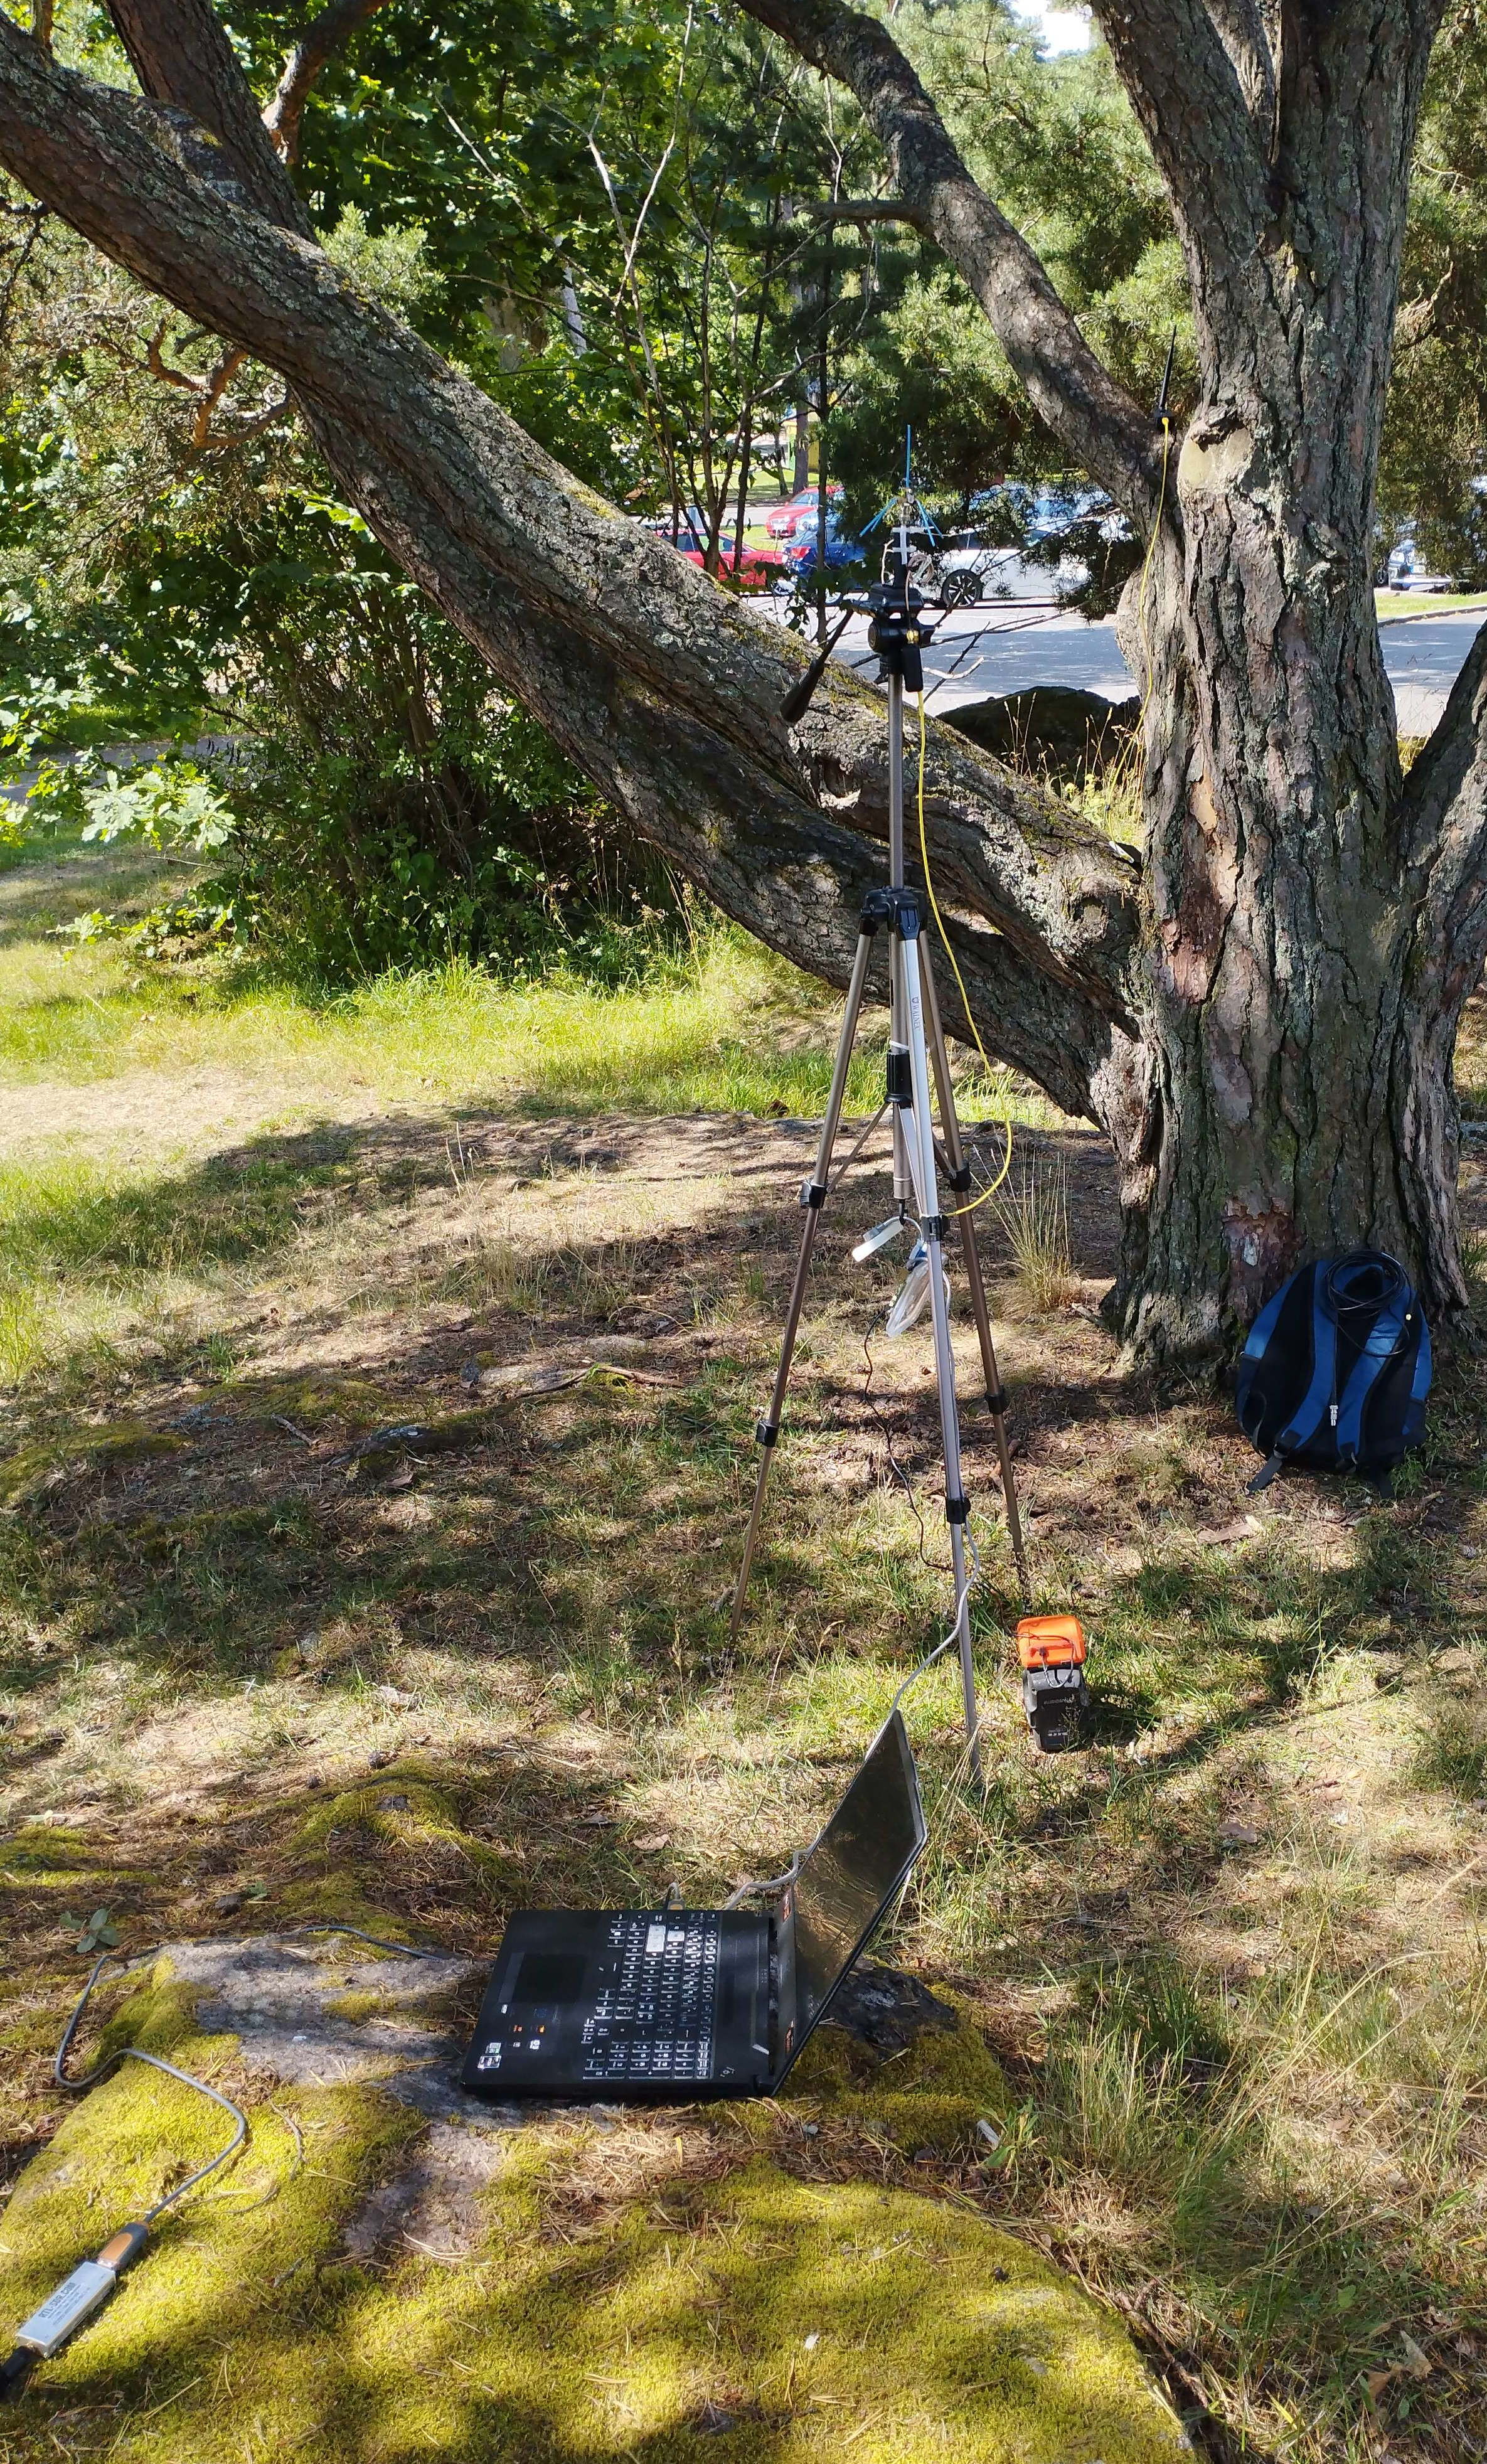
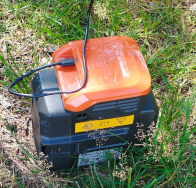
In the field, I powered everything using a “powerbank” setup consisting of a Husqvarna BLi300 battery and the Husqvarna USB150X bidirectional USB adapter. Admittedly, this is not the most budget-friendly option—but I already had access to the components. It worked great and was able to power the setup for over 8 hours, according to my calculations. I mounted the whole setup on a tripod to create a portable Meshtastic beacon.
Field Test at Stadsparken
Of course, this all had to be tested in the real world. So, on the last Saturday of my vacation, I packed everything up and headed to the local city park—Stadsparken—which also happens to be one of the higher points in the area.
It was a great experience. There’s something satisfying about seeing a project come together, and even more exciting when the first reports start coming in confirming that the beacon could be heard. Sure, there are a few missing features, and yes, there are some bugs to iron out—but it worked.
Final Thoughts
In today’s world—and especially within this community—what I built isn’t rocket science. And that’s exactly the point of this blog. If you’re curious about tech, and you like building things, you can do this too. Whether it’s just for fun, for learning, or to support your local mesh network, a project like this is more approachable than ever.
Give it a try—and if you do, let me know. I’d love to hear how your beacon performs.
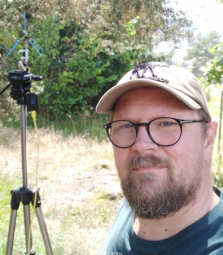
Written by JohanV
2025-08-02